

How to print any document selection in Excel
- 24-07-2022
- thuypham
- 0 Comments
On a document file that is dozens of pages long but you only want to use and print a part of that document, how do you do that?
There will be different ways to handle it, some people will retype that part of the text, some people will copy to a new File and then proceed to print. Those are also good ways to handle it, but not the most effective. Please refer to the two ways that I am about to guide below.
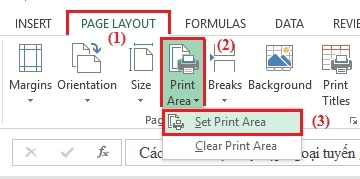
Printing documents is a familiar operation for many people. However, that is the case of printing the entire text. So, have you tried printing a certain part of the text? It's really not as difficult as many of you think. That will be proven today.
Specifically, the steps are as follows:
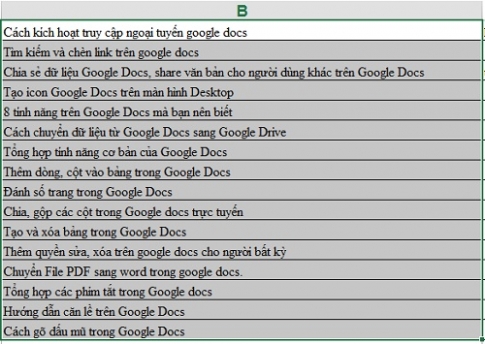
- Step 1: Open the text file you want to print, then use the mouse to highlight the area you want to print.
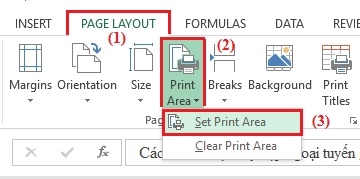
- Step 2: After highlighting, click on Tab Page Layout on the toolbar and select "Print Area" then continue to select "Set Print Area".
- Step 3: Now, the selection has been zoned, press Ctrl + P. You will get a preview of the data area that you are about to print.
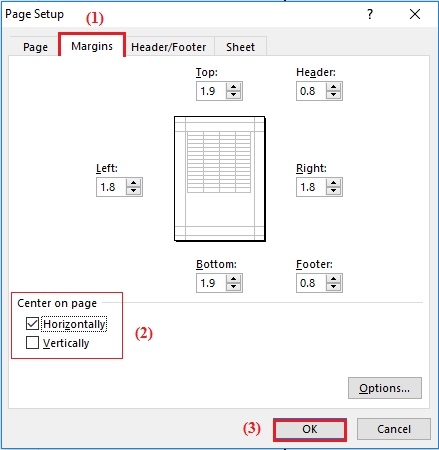
Because the document selected when put into the paper size is not aligned, if you want to align the margins, click on “Page Setup ”.
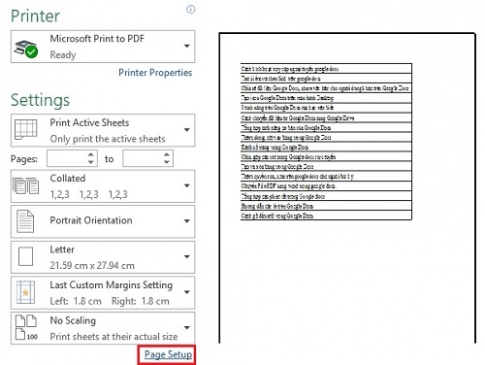
- Step 4: A window appears, select "Margins" and then choose one of two options:
+ Horizontally: Your document is centered on the paper size.
+ Vertically: Your document centered on the center of the paper size.
Finally, click on “OK” .
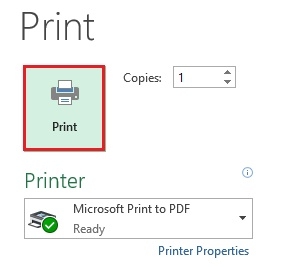
- Step 5: Finally, after editing, click on the "Print" command to print the document you need.
Above, I showed you how to print a document selection. With this method, you will not have to spend much time to be able to print exactly the parts you want. Not only can you select one area, but you can select many different areas before printing. Hope this article will help you.
Good luck!!


