

Part 2: Design a crossword puzzle interface with PowerPoint
- 24-07-2022
- thuypham
- 0 Comments
In this part, I will guide you to design the interface: crossword puzzle. We use Powerpoint to do this. Please read carefully and follow each step correctly. If you do it wrong, skim it, you may get confused in the next step.
You use office 2003, 2007, 2010, 2013 or 2016 all do the same. You just need to understand the nature. I made this article on powerpoint 2010.
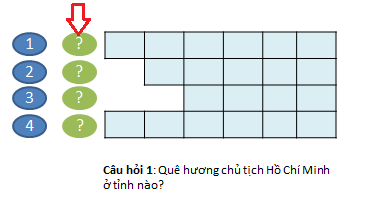
Steps to design crossword game interface:
How to do an overview:
- Use textbox to write: game name, question, answer.
- Go to insert-> Shapes -> ellipse icon to create buttons
- Go to insert -> table to draw the table
Details are as follows:
- Step 1: Open up powerpoint.
- Step 2: Delete all available interfaces of powerpoint
You Click on the border of the available cells and then press the Delete key on the keyboard.
Need to delete all the boxes: Click to add title and Click to add Subtit
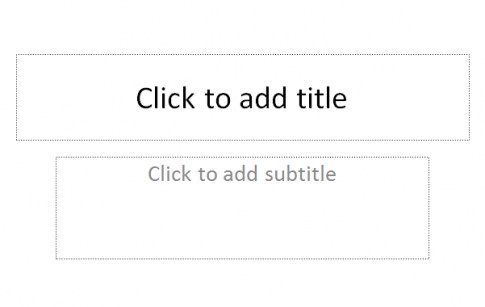
When deleted, you will get a plain white powerpoint
- Step 3: On the menu of powerpoint, you choose Insert -> textBox
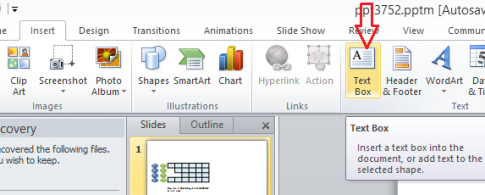
- Step 4: Design the title and draw the game box
Use the textBox to write the game name.
For example, what I write here is: Design a crossword game. You can write whatever you want
Use the Table – table icon to draw a row. Remember only 1 row is needed. After drawing, you will have the interface as below
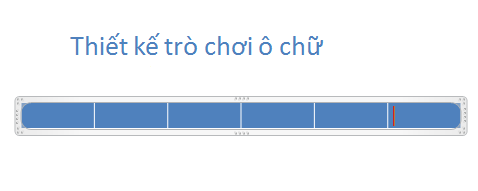
- Step 5: Edit the format for the table
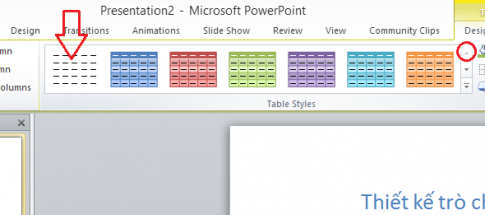
Click on the table so that on the design section menu. There are formatting styles for the table.
You press the arrow button to move up to select the format above. Click until a white box and a tile appear. You Click on it. As shown below
- Step 6: We will get the interface like this
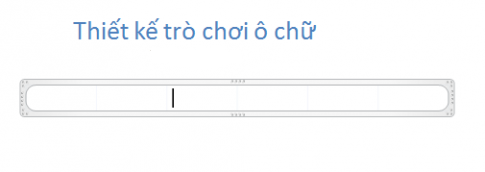
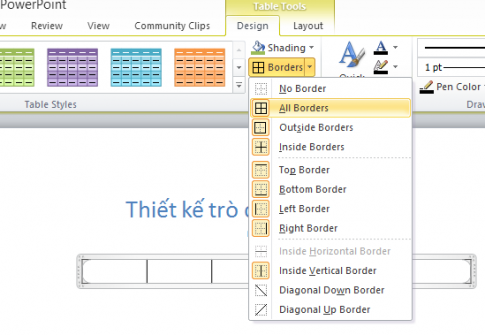
- Step 7: You click on border -> All borders
At that time, on our powerpoint will show clear cells
- Step 8: Design the next cells
Use a textBox to design the answer.
My example is: NGUYEN for example
Use another textBox to write questions
Create 2 push buttons: question and answer.
To create 2 buttons, go to Insert -> Shapes -> select the Ellipse icon. In general, you can choose whatever icon you want. However, you should choose the ellipse for beauty. You create 2 buttons and then color them for easy identification
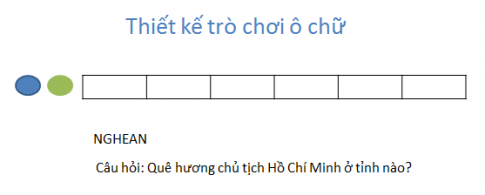
- Step 9: Right-click on each button and write the text in. You can write anything
For this problem, my answer is 1
Question, I put a question mark. Make it logical and easy to recognize. And of course, you can write anything.
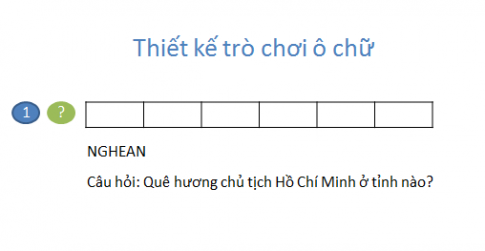
- Step 10: Click on the word LISTEN and then drag it up, overwriting the table place
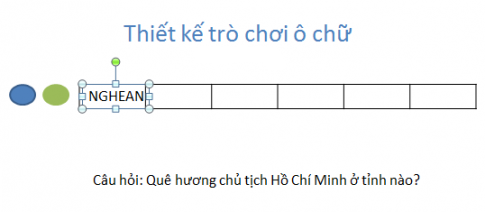
- Step 11: You drag the TextBox out, so that it covers the table
Then you proceed to stretch the text. You should put the cursor in the middle of each letter -> press the tab key on the keyboard to expand the text easily
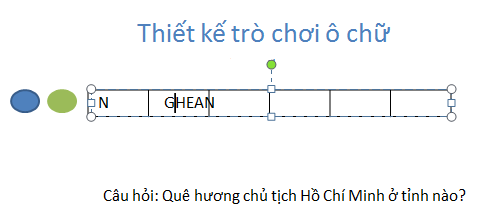
- Step 12: After stretching the text, you will have an interface like this
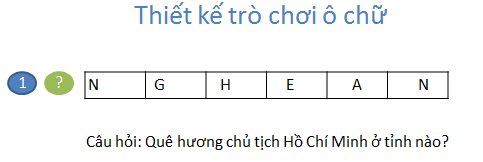
That's it, we have completed the design of the interface.


