
WindowsおよびMacOにC/C++プログラミング用のVisualStudioCodeをインストールする
Visual Studio Codeは、Windows、Linux、およびmacOSプラットフォームで動作するMicrosoftによって作成された無料のソースコードエディターです。機能には、デバッグサポート、構文プロンプト、自動インテリジェントコードプロンプト、コマンドブロックプロンプト、コマンドブロックリファクタリング、Github統合が含まれ、記事でVisualStudioコードの使用方法を参照できます。VisualStudioCode チュートリアルと一般的なプログラマーの問題を記述します。 C / C ++の場合、このツールキットは、今日C / C ++プログラマーによって最も一般的に使用されているツールキットであり、多くの実際のプロジェクトで使用されています。
では、なぜ多くの人がまだDev C ++を使用して勉強しているのに、実際に作業しているときはVisualStudioCodeを使用しているのでしょうか。次の基本的な理由によります。
- 実行環境をインストールするためのVScodeには多くの段階があり、Dev C ++よりもはるかに複雑ですが、実際の実行環境を正確にシミュレートできます。そして、実際に作業するときは、安定した実行環境が非常に重要であることを理解する必要があります
- 実際の環境に近いため、VScodeはエラーをより厳密にキャッチし、Dev C ++からVSCodeで正常に実行される多くのソースコードが失敗します(コンパイラーまたはバージョンが異なるため、ベトナム語辞書->英語-英語はベトナム語とは異なります- >英語-簡単に視覚化できるアメリカ語)
Mục lục
WindowsオペレーティングシステムにCプログラミング用のVisualStudioCodeをインストールする手順
ステップ1:VisualStudioをダウンロードする
https://code.visualstudio.com/downloadにアクセスし、公式サイトからVisualStudioCodeインストーラーをダウンロードします。または、vscodeキーワードを検索して、Googleから返された最初の結果をクリックします。

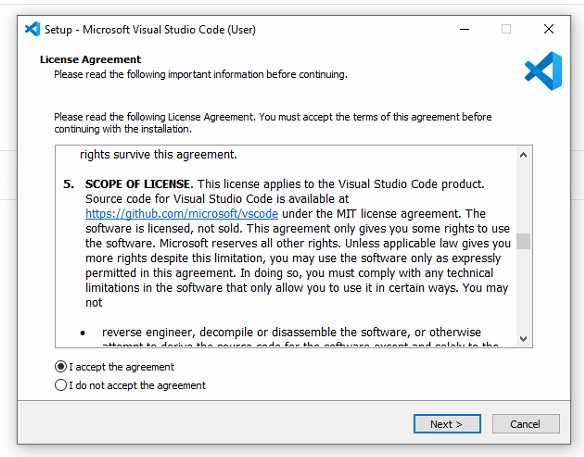
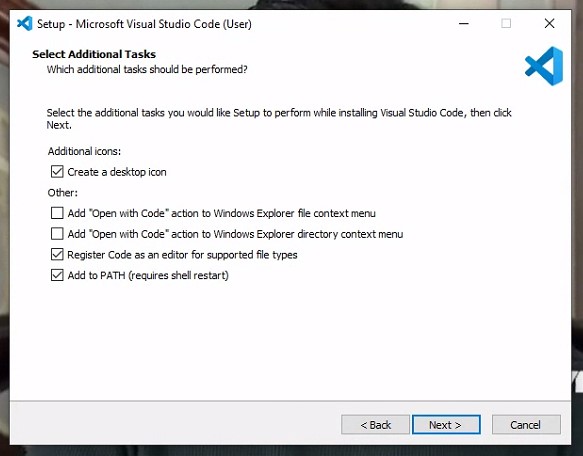
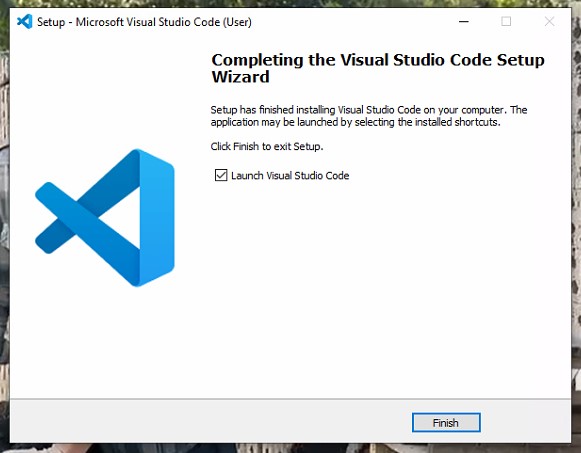
手順2:VisualStudioをインストールする


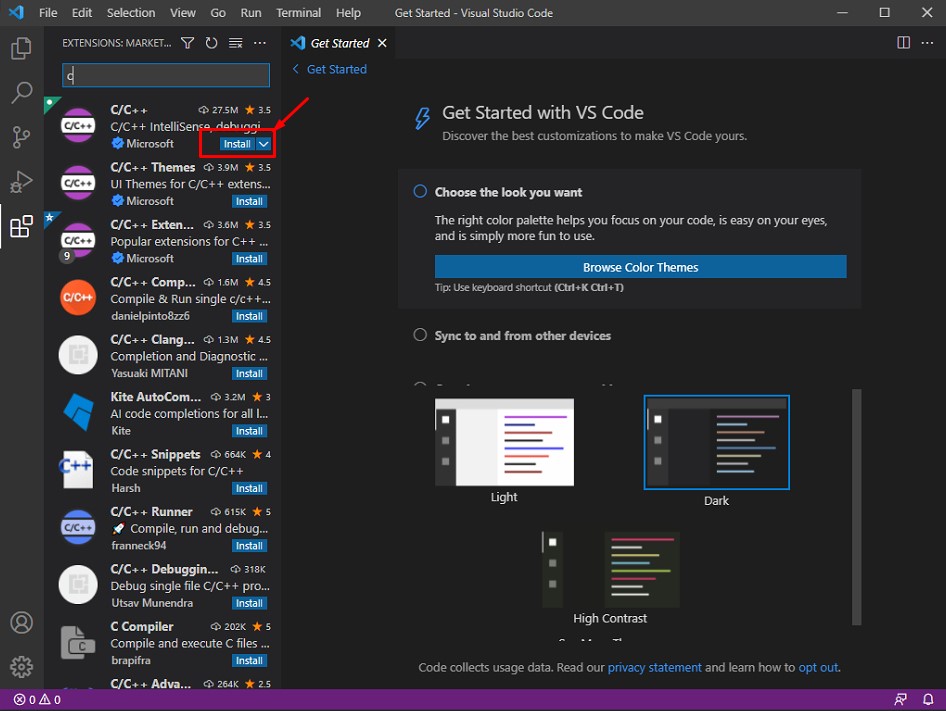
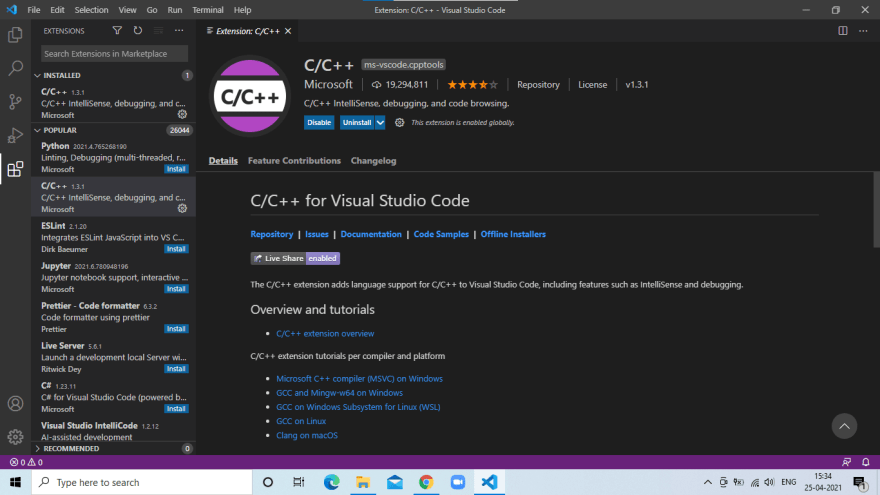
ステップ3:VisualStudioCodeのC/C ++拡張機能(拡張機能)をダウンロードする
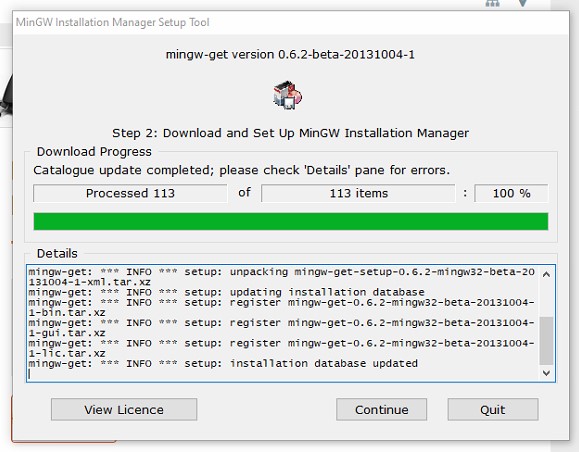
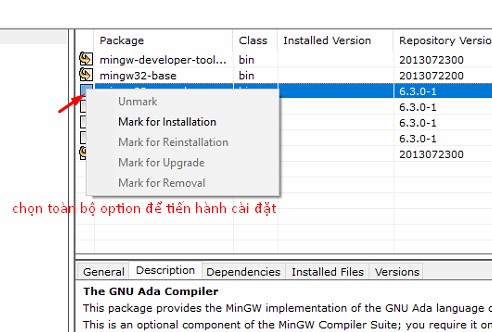
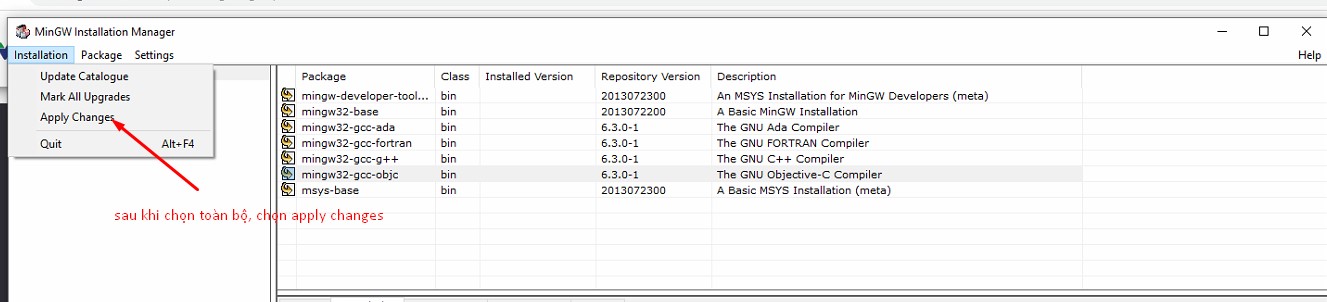
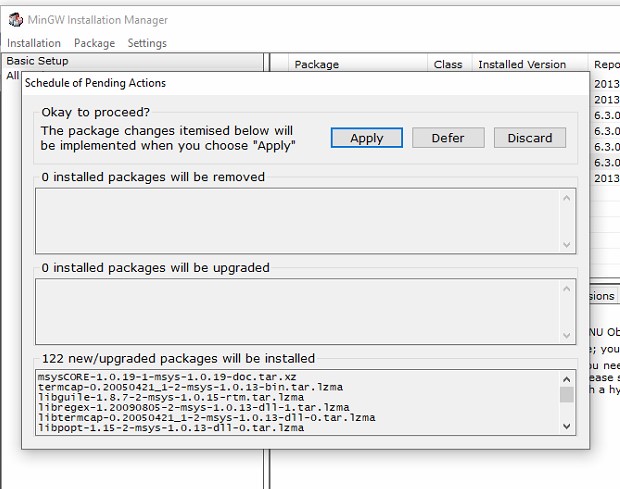
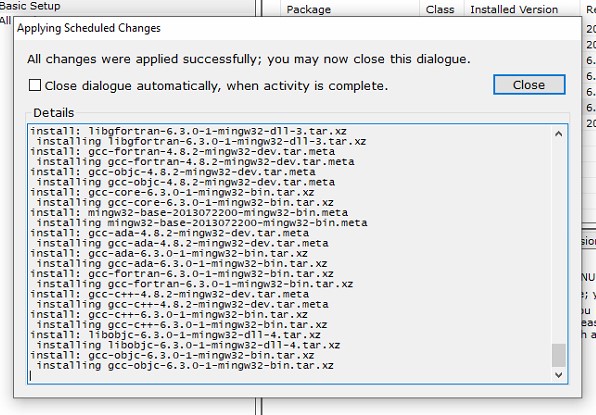
ステップ4:MinGWをダウンロードしてインストールする
ここからWindows用のミニマリストGNUをダウンロードしますhttps://sourceforge.net/projects/mingw/
ファイルmingw-get-setup.exeをクリックして、インストールを続行します。


ステップ5:MinGWの環境変数を作成する
新しくインストールされたC: MinGW binフォルダーにアクセスし、 CTRL + C (コピー)を押して環境変数パスを取得します

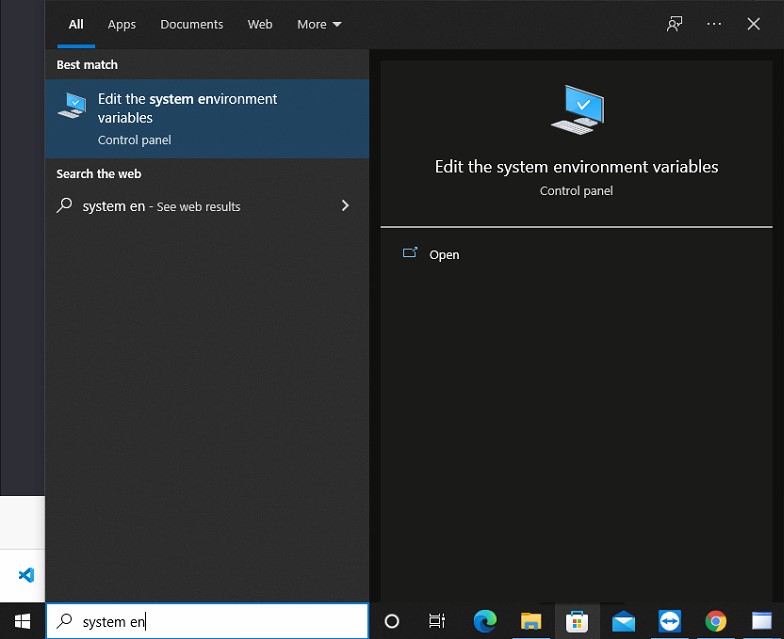
Windowsタスクバーの検索バーにシステム環境と入力して、Windowsのシステム環境変数の編集機能にアクセスします。
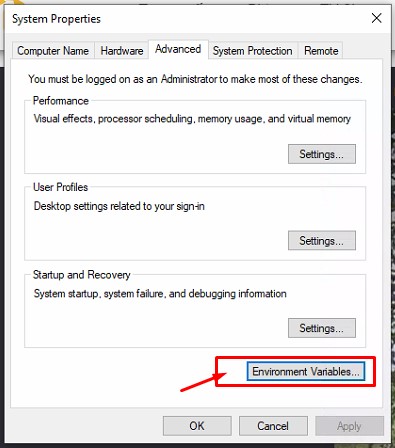
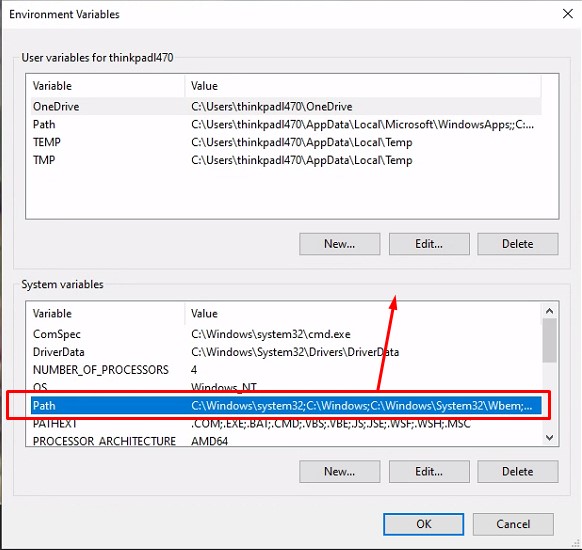

次の手順では、引き続き[OK]をクリックして、環境変数エディターを無効にします。
ステップ6:環境変数がWindowsによって認識されているかどうかを確認します
ブラックスクリーンインターフェイス(グラフィックなし)でコンピューターと対話するためのCMDへのアクセス
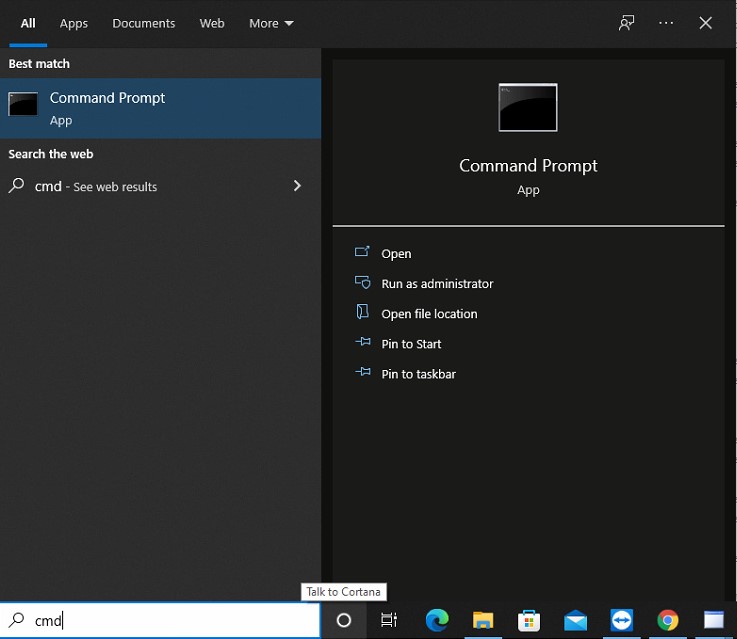
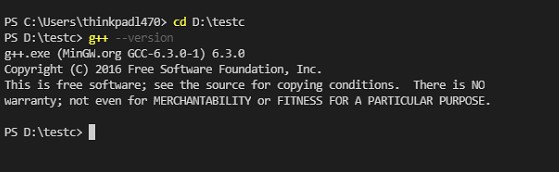
このコマンドを入力して、G++がインストールされ認識されているかどうかを確認します
g++ --version
最後の手順でエラーが発生した場合は、MinGWのインストール手順に戻って、MinGWが完全かつ適切にインストールされていることを確認してください。
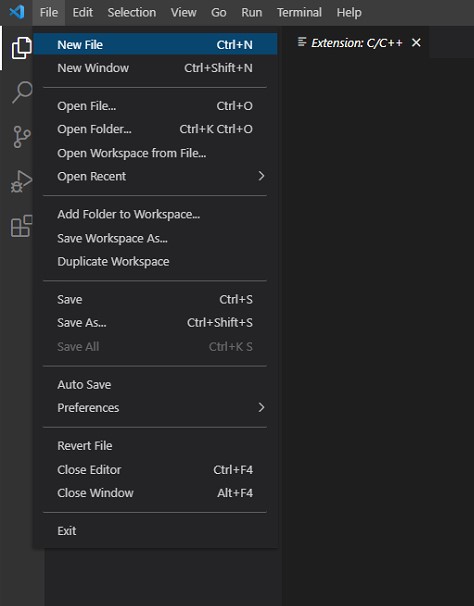
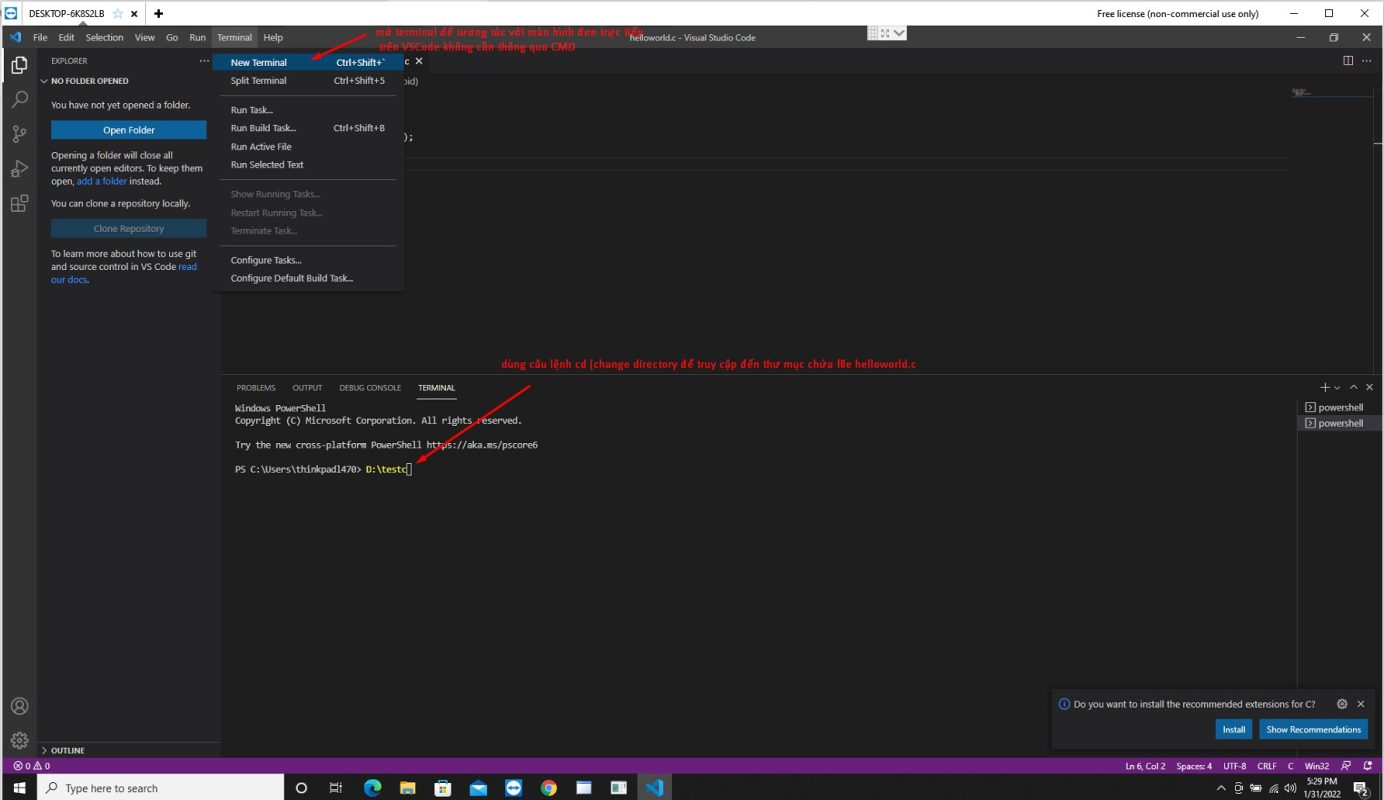
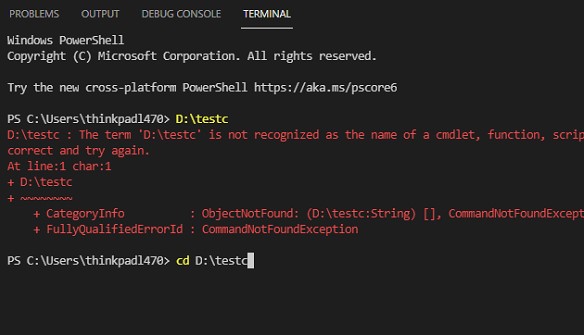
ステップ7:ファイルを初期化し、VisualStudioCodeを使用して最初のCプログラム「HelloWorld」を実行します
ステップ1:Visual Studio Codeを開き、新しいファイルを作成します
ステップ2:簡単なコードの記述を開始し、ソースファイルhelloword.cとして保存します
#include <stdio.h> #include <stdlib.h> int main(void){ printf("Hello World"); return 0; }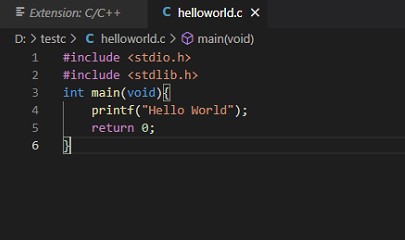
MacOSにCプログラミング用のVisualStudioCodeをインストールする手順
Windowsと同様に、MacOSでは、Cプログラミングを開始できるようにするためのコマンドライン環境も必要です。MacOSでは、ターミナルアプリケーションにアクセスします。
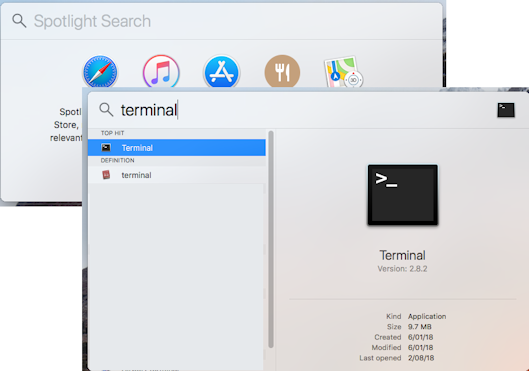
ターミナルウィンドウには、コマンドラインインターフェイスがあります。プロンプトでコマンドを入力して、タスクを実行できます。
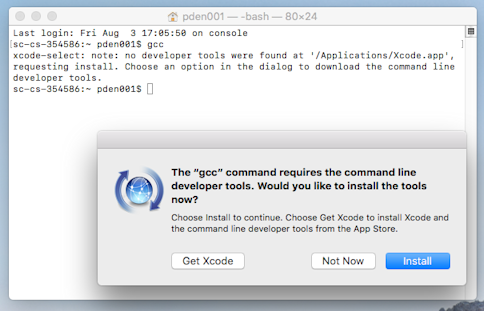
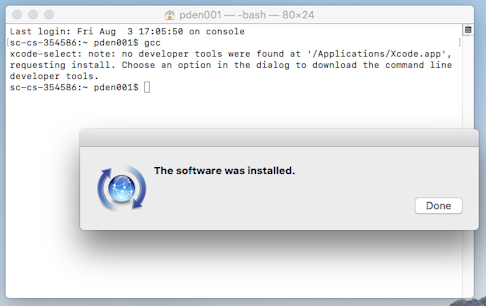
コマンドGCC — versionを入力し、Enterキーを押します。既にある場合は、GCCがウィンドウにインストールされていることを示すテキスト出力が表示されます。コマンドライン開発者ツールがインストールされていない場合は、インストールを求めるダイアログが表示されます。 [インストール]をクリックしてインストールを実行します
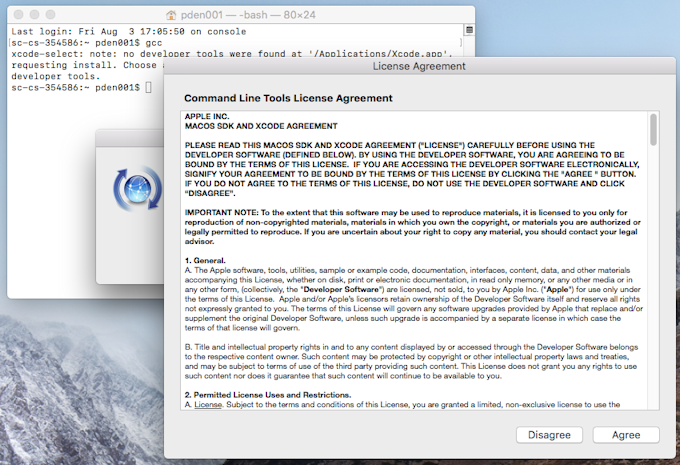
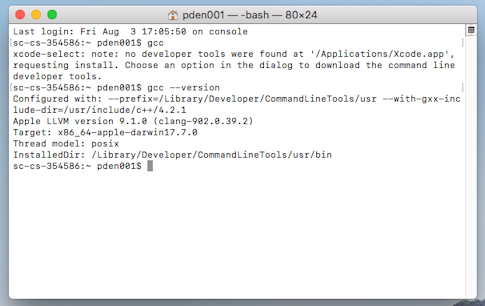
(コマンドラインツールでインストールされた)Cコンパイラの名前はgccです。これが正常にインストールされたかどうかを確認するには、コマンドラインウィンドウに「gcc–version」と入力し続けます。以下に示すように、バージョン情報を表示する数行の出力が表示されます。
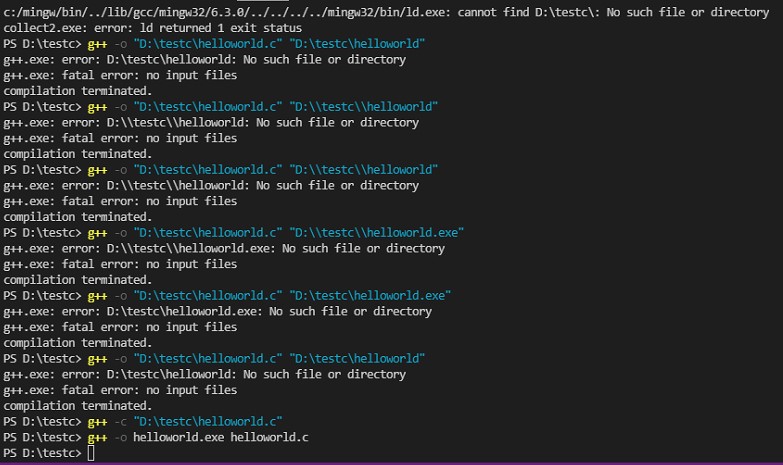
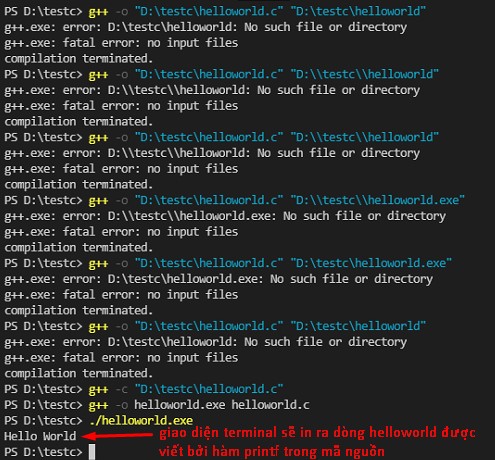
この手順は、Windowsの場合と非常によく似ています。パート1のソースコードを使用して新しいhelloworld.cファイルを作成し、ターミナルを使用して実行可能ファイルを作成し、実行可能ファイルを実行します(MacOオペレーティングシステムの実行可能ファイルは実行可能ファイルを実行します)。 1つはありません。Windowsのように.exe拡張子):
cd <path_to_helloworld.c_file> gcc -o helloworld helloworld.c ./helloworld次の記事では、WindowsにVisual Studio CodeとMinGWをインストールし、MacOにコマンドラインツールをインストールして、gccコンパイラでCプログラミング環境を初期化する方法を詳しく説明しました。問題が発生した場合は、以下にコメントしてください。チームはあなたをサポートし、あなたに対応します、あなたが成功することを願っています!
Bài viết liên quan:


Dịch vụ thiết kế Wesbite