
Create simple HTML post list
- 24-07-2022
- Trung Minh
- 0 Comments
In this article, I will show you how to create a list of articles in HTML, through this article you will understand and apply some heading tags, p tags, div tags, and many other related CSS properties.
The purpose of this exercise is to help you understand how to build a list HTML interface. I will not guide how to make a cute interface, but only follow a standard model for you to practice. After that, what style you want is up to you.
Mục lục
The article list HTML interface will do
I will not guide building website layout anymore. If you do not know how, go back to the lesson of creating HTML layout plugins .
In this article, I will make an interface that looks like this :

This is the standard display that you will encounter on most websites today.
We'll need a div#list_post tag to wrap around the entire postback. For each post, we also need to create a div.post tag. I use class because we have many articles and they share the same CSS style. Now the basic structure of this section will be as follows:
<div id="list_post"> <div class="post"> POST 1 </div> <div class="post"> POST 2 </div> <div class="post"> POST .. </div> </div>Each article is divided into 2 parts. The first is the image representing the article, it will be on the left side. The second is that the content will be on the right side. I will create 2 div tags as follows:
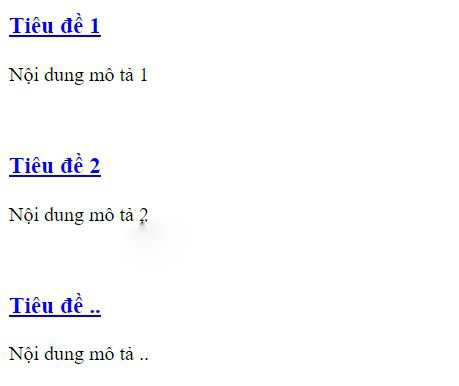
<div id="list_post"> <div class="post"> <div class="thumb"> <img src="URL HÌNH 1" alt=""/> </div> <div class="infor"> <h3><a href="URL BÀI VIẾT 1">Tiêu đề 1</a></h3> <p> Nội dung mô tả 1 </p> </div> </div> <div class="post"> <div class="thumb"> <img src="URL HÌNH 2" alt=""/> </div> <div class="infor"> <h3><a href="URL BÀI VIẾT 1">Tiêu đề 2</a></h3> <p> Nội dung mô tả 2 </p> </div> </div> <div class="post"> <div class="thumb"> <img src="URL HÌNH .." alt=""/> </div> <div class="infor"> <h3><a href="URL BÀI VIẾT ..">Tiêu đề ..</a></h3> <p> Nội dung mô tả .. </p> </div> </div> </div>Run it up, we will have the following interface:

Now we will need a little CSS to make the interface look better.
Use CSS to build the article list interface
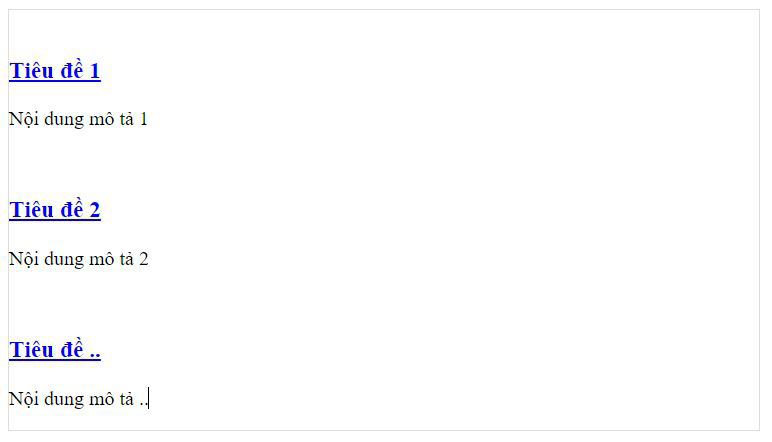
Step 1 : I will limit the width of the div#list_post tag to about 600px, and add a little border for easy identification. We should also center it using CSS margin: 0px auto .
#list_post{ border: solid 1px #ddd; width: 600px; margin: 0px auto; }Result :

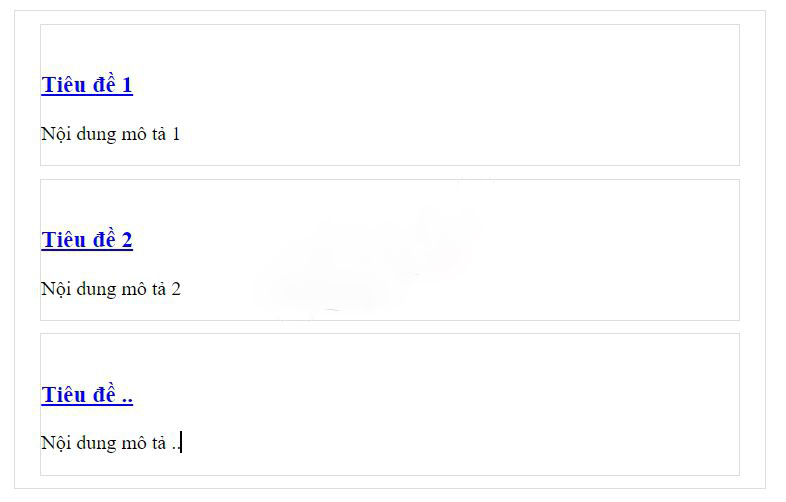
Step 2 : I also create border for each post by styling div.post . Use the margin property to increase the distance between the post and the outer border.
.post{ border: solid 1px #ddd; margin: 10px 20px; }Result :

Step 3 : I will add image links for 3 articles.
<div id="list_post"> <div class="post"> <div class="thumb"> <img src="https://hocvietcode.com/upload/tut_series/images/2015/12/14/39/html-can-ban.jpg" alt=""/> </div> <div class="infor"> <h3><a href="URL BÀI VIẾT 1">Tiêu đề 1</a></h3> <p> Nội dung mô tả 1 </p> </div> </div> <div class="post"> <div class="thumb"> <img src="https://hocvietcode.com/upload/tut_series/images/2015/12/14/39/html-can-ban.jpg" alt=""/> </div> <div class="infor"> <h3><a href="URL BÀI VIẾT 1">Tiêu đề 2</a></h3> <p> Nội dung mô tả 2 </p> </div> </div> <div class="post"> <div class="thumb"> <img src="https://hocvietcode.com/upload/tut_series/images/2015/12/14/39/html-can-ban.jpg" alt=""/> </div> <div class="infor"> <h3><a href="URL BÀI VIẾT ..">Tiêu đề ..</a></h3> <p> Nội dung mô tả .. </p> </div> </div> </div>Step 4 : Now we will style the image part. I will use float to hang it to the left corner, then set its width to about 200px . For images, I will set the max-width to 200px ( ie 100% ).
.post .thumb{ float:left; width: 200px; } .post .thumb img{ max-width: 100%; display: inherit; }Step 5 : Change the content for the article title.
I will give the left margin about 220px so that there is space between the image and the title, and change the font and font color for the title.
.post .infor{ margin-left: 220px; } .post .infor h3{ margin: 15px 0px 20px 0px; } .post .infor h3 a{ font-size: 18px; text-decoration: none; color: blue; text-transform: uppercase; }It looks better now. If you want to change the style, add the CSS yourself.
Through this article, I have shown you how to build a list of articles using HTML and CSS. This is a very simple sample article, the purpose is to help newcomers to learn CSS to access many different types of interfaces. See you in the next post.


